 This is what I have collected and bought so far:
- 4 Joysticks
- 4 player start button
- 24 push-buttons in 6 different colors
- I-PAC4
- Used 17" 4:3 LCD screen
- ATX Power-supply
- SATA to Compact Flash adapter
- 8GB Compact Flash card
- Motherboard with Intel Atom
- 1GB DDR2 Ram
- Crimps
- Crimp tool
- Wires
Seems allot? I missed something, I'll tell you about it later in the post.
 The 4 joysticks I bought were colored Blue, Red, Yellow and green. I wanted to build an arcade cabinet for 4 players. Yes I talked to my wife but I didn't tell her how big the machine will be - fatal mistake, this was after I bought the 4 joysticks. Oh well, at least I got enough push-buttons and joysticks for another table ;).
The push-buttons are in 6 colors, White, Green, Yellow, Red, Orange and Blue. I wanted to have a 6 button configuration for each player.
I also bought an I-PAC4.
The push-buttons and I-PAC were bought from Ultimarc. The Joysticks were bought from SUZO-HAPP.
 God bless the wide screen age. Looking for a used 17" LCD 4:3 screen was easy enough, and I even found one who's seller is an Electronics guy who fixes Electronic devices for a living, so he gave me the LCD screen for less than 53$ with 3 month warranty.
The power supply is a simple ATX power supply, nothing special here.
Notice that the LCD screen came with an external power supply.
 For a hard drive for the machine, I decide to go with a Solid State device. Solid State devices are rather pricey, so I decided to go with a Compact Flash card with a SATA adapter. The Compact Flash is a fast Card is comparison to other forms of flash memory. The SATA adapter was bought from DealExtreme for 9.22$ and the Compact Flash card was bought here in Israel in a local shop for less than 40$.
The motherboard was also bought from a local store. I chose to go with something that will run the Arcade games and not cost too much. I chose to go with a dual core Intel Atom with no special requirement for the graphic card. The graphic card does not provide any added benefit for games running under MAME. The motherboard I chose was ASUS AT5NM10-I. One of the benefits of ASUS motherboards is the "MyLogo" feature which allows the user to customize the bios boot screen. This will come in handy for making and authentic Arcade machine.
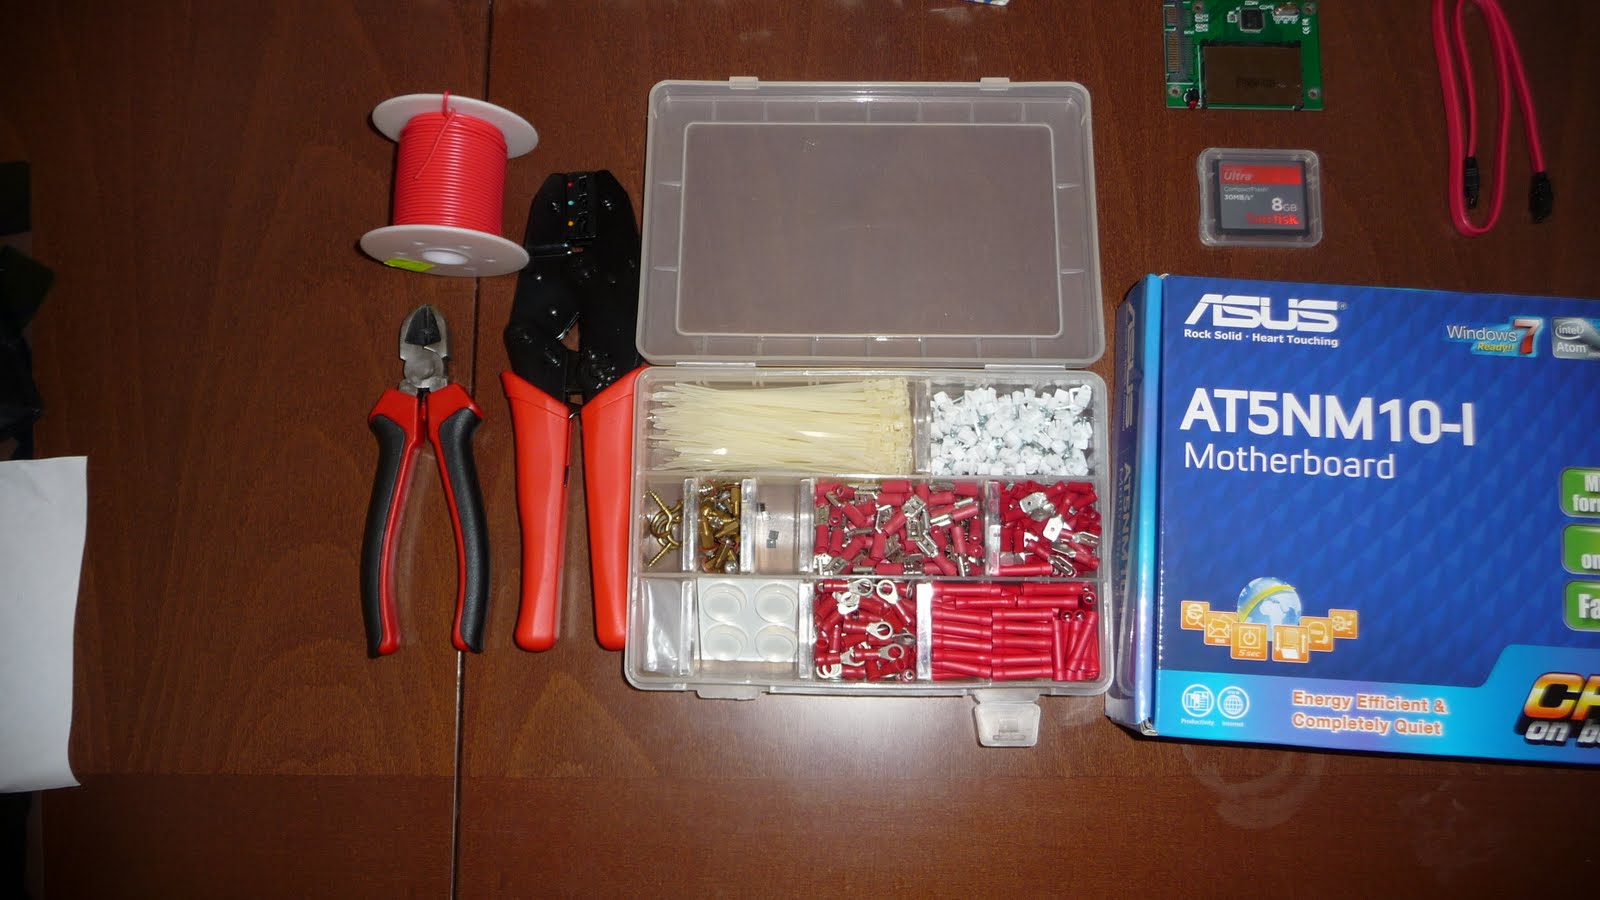 Finally, I need wires, crimps etc... to connect all these components somehow together.
These were bought from a local store.
A word on the Software I will be using: After searching the web for many hours, I decide to go with MicroXP. This is a stripped down Windows XP with many features gone from it. I did my initial testing for this OS on a Virtual Machine and it proved itself well.
I later tested it on the hardware I bough and it worked just great. It's fast light and FREE!
Remember I told you I missed something? :) well, I missed a few push-buttons.
I need the following:
- Adding Credits push-button
- Power-On push-button (Illuminated would be nice)
- Exit game push-button
I will probably order them from Ultimarc, but the cost of shipping is rather high. If I don't come up with a good idea, I'll have to settle with the fee :(.